


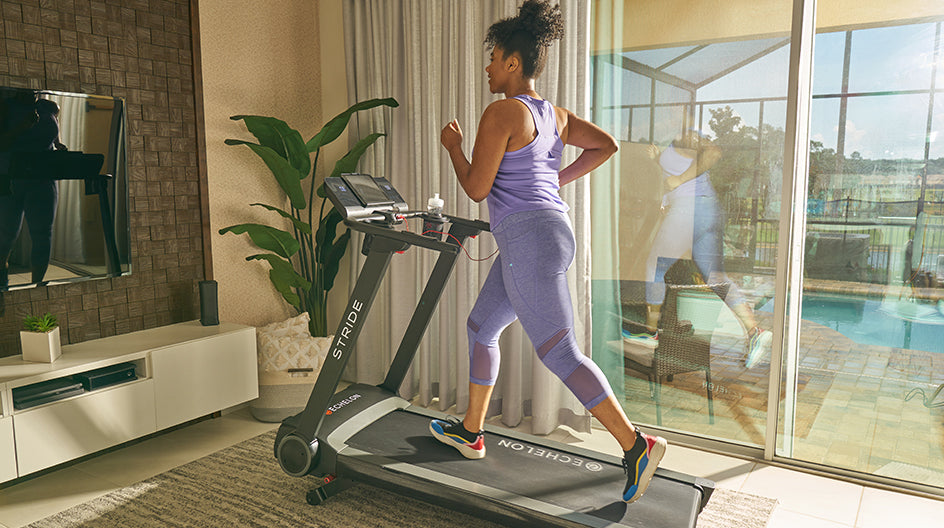

Setting Up Your Echelon Stride
Welcome to the Echelon Stride! In this guide, we have highlighted all the important information you will need to make your Stride workouts enjoyable and as time efficient as possible - from the initial set up and putting away of your Echelon Stride, to the key safety features and how to connect to the Echelon Fit App, we cover it all and more.
This post will answer the following questions:
- How Do I Set Up My Echelon Stride?
- How Do I Put Away My Echelon Stride?
- What Are the Echelon Stride Safety Features?
- What Do I Need to Know About My Echelon Stride?
- How Do I Maintain Proper Form on My Echelon Stride?
- Can I Connect My Treadmill to the Echelon Fit App?
Setting Up Your Echelon Stride

1. Place your hands on the Stride handlebars.

2. Pull the handlebars down.

3. Adjust the position of the console.
You can then pull the Echelon Stride console towards you to your desired screen position. The console will make clicking sound as you manually adjust it.

4. Pull the device holder up.
There is a device holder built into the Stride console, which can be used by pulling the top of the device holder up, placing your smartphone or tablet in the desired position and lowering the device holder onto the device to hold it in place.
5. Locate the power cord.
Plug in the power cord at the front of the Stride treadmill, which is located next to the red Power switch, and then plug the other end of the power cord into a power outlet.

6. Flip the power switch on.
The red power switch is located on the base of your Echelon Stride at the front. To turn on the treadmill, press the right side of the switch which is labelled ‘I’. When powered on, the switch will be lit. Press the left side of the switch, which is labelled ‘o’ to turn off the machine.
7. Locate your safety key.
The safety key needs to be inserted into the front of the Stride console for the treadmill to function, and it must be worn at all times. If you need to stop your Stride immediately, then you can disengage the safety clip and the treadmill will instantly stop.
Putting Away Your Echelon Stride
1. Secure the device holder and console.
Firstly, you need to put the device hook down, which is located on the top of the Stride console. Next, you need to rotate the console down, ensuring it is parallel with the floor.

2. Secure the handlebars.
To release the handlebars, lightly press down on the handlebars and click the folding button that is located underneath the handlebars. After you have released the handlebars, press down on the red pedal lever located on the lower left-hand side of the Stride machine and the handlebars will automatically fold back into place.

3. Remove the safety key.
To ensure the treadmill is not accidentally powered on when it is not in use, the safety key must be removed.
Understanding the Echelon Stride Safety Features

1. Attach the safety clip.
At the start of your workout, you need to attach the safety clip to an item of clothing. The safety clip can be found on the opposite end of the lanyard attached to the safety key.
2. Quickly stop the treadmill.
If you need to stop the treadmill belt instantly, then you can pull the safety lanyard. This will remove the safety key from the console and stop the machine.
3. Store the safety clip and key.
Be sure to remove the safety key and store it in a secure location when the Echelon Stride is not in use.

4. Secure the Echelon Stride.
Make sure the Echelon Stride is secured to the wall with the enclosed safety strap when you are storing the treadmill in an upright position. The anchors and screws that are provided should be used to install your Stride safety straps to the wall. For concrete walls, drill two 0.315" (8mm) pilot holes with 1.6" (40mm) depth, 32" (81cm) apart, and 47.2" (120 cm) above the floor. For wood walls, place two wall studs 32" (81cm) apart, and drill appropriate pilot holes. Drive screws into pilot holes without anchors.
Getting to Know Your Echelon Stride

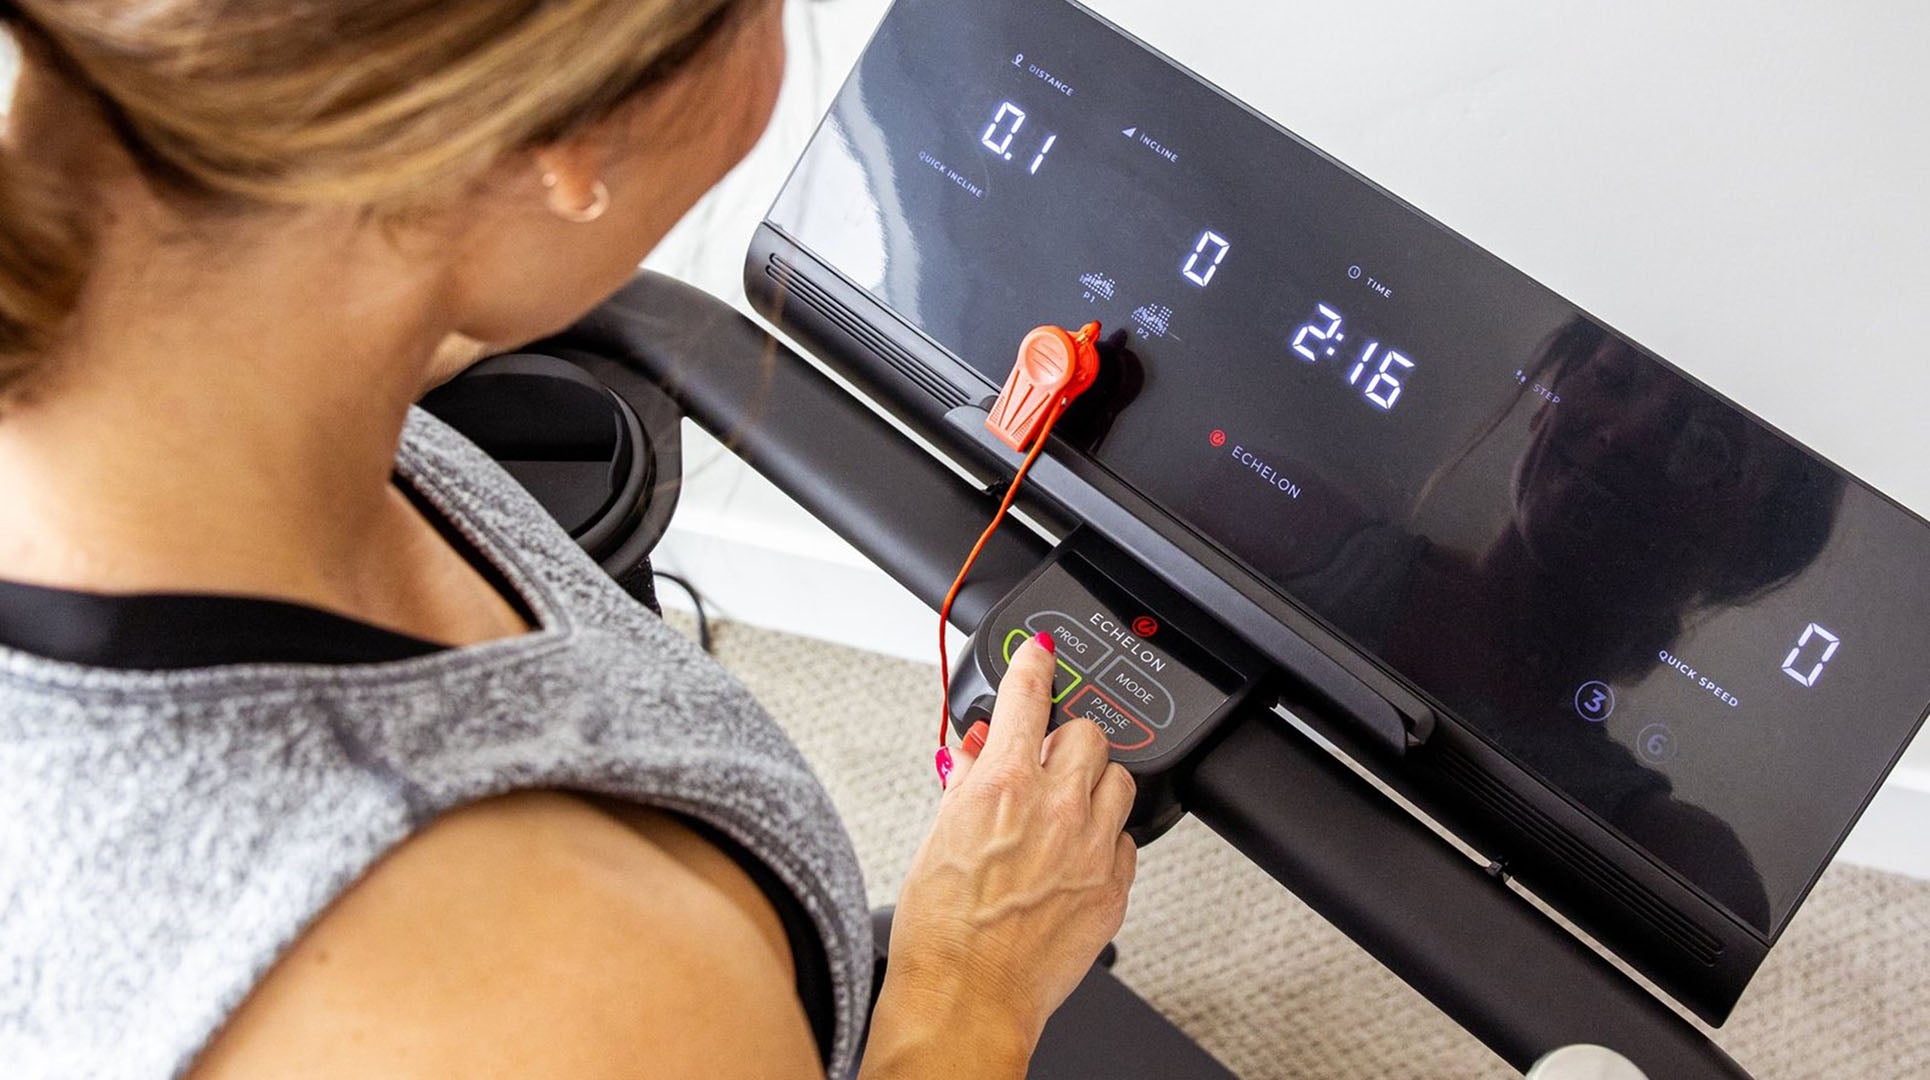
1. Review the eight pre-program icons on your console.
On the Stride console, below the stats, you will see program icons P1 through P8. Each of these are a different pre-programmed workouts that vary by incline and speed. Tap the button labeled "PROG" above the green "START" button to select a program. P1 will be automatically selected, and you will need to click the "PROG" button until your desired program is displayed on the screen. To begin your workout, tap the green "START" button.

2. Locate the Quick Incline icons.
On the left-hand side of the Stride console screen, are three Quick Incline options; levels 3, 6 and 9. You can simply tap either the 3, 6 or 9 to set your treadmill to your desired incline level.

3. Locate the Quick Speed icons on the display screen.
Similar to the quick incline icons, there are also Quick Speed options on your Echelon Stride. The three quick speed options are also 3, 6 or 9 and can be selected by simply tapping on the number. However, the quick speed buttons are located on the right-hand side of the display screen.

4. Locating the Quick Incline and Quick Speed buttons on your handlebars.
You can also alter your incline and speed levels by one level at a time using the arrow buttons located on your handlebars.

5. Locating the heart rate monitors.
The Stride heart rate monitors are located on the handlebars below the speed and incline buttons. To show your pulse on the screen, you need to place your palms directly on the monitors.
Maintaining Proper Form on Your Echelon Stride

1. Observe your feet.
You need to ensure your feet are aligned with your hips. Your toes also need to be pointing forward and not outward.
2. Focus on your core.
Engage your core whilst using the Echelon Stride.
3. Notice your stance.
You need to relax your shoulders and stand up straight to lengthen your spine.
4. Assess your eyes.
You should either look forward or at the console, not down.
5. Note your arms.
Your elbows should be bent at a 90-degree angle.
Connecting Your Stride to the Echelon Fit App

1. Connecting to the Echelon Fit App.
Firstly select a class on the Echelon Fit app and tap play. Next, you need to tap the red bar which is displayed at the top of the Echelon Fit app screen, select “Stride,” then click on the “Start” button located at the base of the console to connect your Stride to the app. You should hear a three-second countdown and then your belt will start to move.
2. Using the Quick Options.
You can also use the Quick Options buttons during your class. Simply tap the desired level (3, 6, or 9) and your speed or incline will change. Alternatively, you can alter your speed or incline by using the buttons on your Stride handlebars.
Note. If your device is already connected to the Echelon Fit app and your Echelon Stride, then simply select a class on the screen, click “Play,” and your belt will start. During your workout, your stats will be displayed on the screen.
Following these guidelines and instructions discussed in this guide will ensure you have the safest, most effective workouts on your Echelon Stride. You can refer to this guide as often as needed. As a valued member of the Echelon community, we’ll stay connected on every step of your exercise journey.
Related Posts